Six Draft System Mistakes That Turn Good Beer Into Foam
Foam is a symptom, not a cause. Six setup and maintenance errors explain most of it, from applied pressure and line resistance to cooler drift, and each one has a test you can run inside one shift.
Applied Pressure Set by Habit Instead of Temperature and Carbonation Level
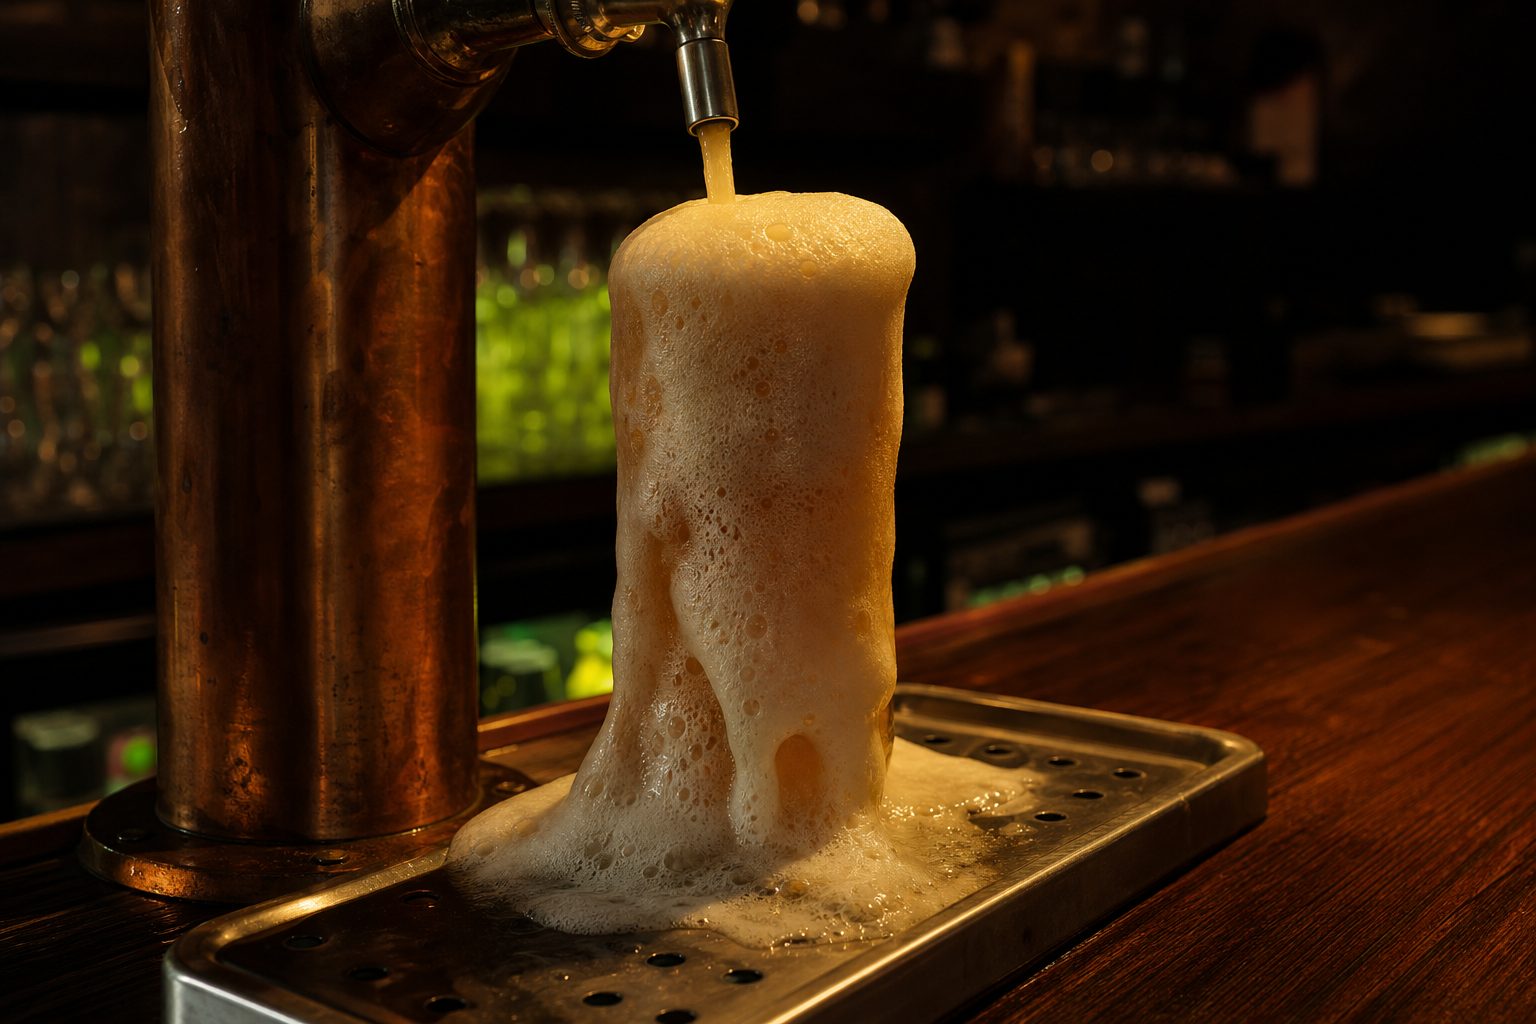
Walking into a taproom, many managers find the gas manifold set where it has always been. Someone years ago dialed in a pressure, and it has stuck ever since. The problem is, draft beer systems work best when applied CO2 pressure is matched to both the beer's carbonation level and the temperature of the keg cooler. Set it too high, and the beer will pour foamy. Too low, and you risk flat or undercarbonated pours.
CO2 dissolves into beer depending mainly on two things: pressure and temperature. Colder beer holds more gas at the same pressure. To get consistent pours, every taproom needs to verify the cooler temperature and set the regulator to maintain the desired carbonation. This means using a carbonation chart or calculator: if your beer runs at 38 degrees Fahrenheit and you want 2.5 volumes of CO2, your pressure will usually land between 12 and 14 psi. If you change beer styles, keg storage temperature, or even move kegs within the cooler, you need to check again.
The test is simple: pull a pour at the start and end of shift, checking for foam and carbonation bite. If you get gushing pours but the lines are cold, your pressure is too high. If the beer tastes lifeless or pours slow, it's too low. Avoid the habit trap, set pressure based on the actual kegs in service and the actual temperature measured at the keg itself, not the room air above.
Keep reading: Beer Excise Tax and the TTB Reports a Taproom Brewery Files
Line Resistance That Does Not Match the Length of the Run
Foam is often blamed on gas, but the physical beer line is just as important. Every foot of beer line adds resistance, and that resistance has to be balanced by the applied pressure. Most direct-draw systems use narrow, high-resistance tubing on short runs, while long-draw systems use wider, low-resistance trunk lines over longer distances. If the line is too short or too wide for the pressure applied, beer rockets out and foams at the faucet. If it is too long or narrow, beer pours slow or not at all.
The resistance needed is easy to check. For most American draft systems, you want the total resistance of the beer line to balance the pressure coming from the CO2 regulator, minus the pressure needed to keep the beer carbonated at storage temperature. If your regulator is set to 14 psi and you need 12 psi to keep 2.5 volumes of CO2 at 38 degrees, you have 2 psi left to push beer to the faucet. Use manufacturer specs: typical 3/16-inch vinyl tubing provides about 2 to 3 psi resistance per foot. So, you might need only one foot to balance a direct-draw, but 10 to 15 feet for higher pressures or colder beer.
Test your balance by pouring a pint and watching the flow. A too-fast, splashy pour that foams up means you need more resistance (longer or narrower line). A slow, flat pour means you need less. Mark your lines with their lengths, and track changes if you replace or clean lines. Never swap lines without recalculating resistance.
Cooler and Trunk Line Temperature Drift
Even with perfect pressure and line balance, beer will foam if temperatures drift. Coolers running warm or trunk lines warming up between the walk-in and the tap can cause "flash foam" as dissolved gas comes out of solution. The longer the line, the more risk you have, especially with trunk lines running through unconditioned spaces or hot service areas.
Draft beer should stay below 38 degrees Fahrenheit from keg to faucet. Many trunk lines use glycol coolers to keep beer cold between the walk-in and the taps. If the glycol system is undersized, poorly maintained, or shut down overnight, beer can warm up in the lines. The first pour on a shift will foam heavily, even if the keg itself is cold. This is a classic early shift complaint in brewpubs with long runs.
Check for drift using a digital thermometer with a probe. Insert the probe into a glass of poured beer or into the faucet itself after a long idle period. If you see readings above 40 degrees, especially at the faucet, you have a temperature issue. Insulate trunk lines, check glycol levels, and verify that cooler doors seal properly. A simple fix is to pour off a pint at opening and after any long pause, but this wastes beer and should not be a long-term solution.
Keep reading: One Batch, 21 Days: From Brew Day to Tap Handle in a Brewpub
Running Straight CO2 on a Long Draw System
Long draw systems often reach 30 to 50 feet or more from cooler to tap. To move beer this far, you need higher applied pressures. However, if you boost CO2 above the level needed to maintain target carbonation, you overcarbonate the beer over time. This leads to persistent foam, rising keg pressures, and beer that tastes prickly or harsh. Some operators try to balance this by venting kegs or adjusting pressures daily, but this is a losing battle.
The right solution for most long-draw systems is a blended gas, typically a mix of CO2 and nitrogen. The nitrogen portion adds pressure needed to push beer without dissolving into the beer, so you keep carbonation steady while moving beer efficiently. Gas blenders are widely available and can be dialed to match your system's length and required pressures.
You can test whether you have this problem by checking the carbonation in a keg before and after a week on tap. If the later pours are foamier and taste more carbonated, and if you keep raising the pressure to compensate for slow pours, you are likely overcarbonating with straight CO2. Install a blender or consult with a draft technician to size one for your system.
Faucets, Couplers and Gaskets Left in Service Too Long
Draft systems are mechanical, and every point of contact between beer, gas, and air is a potential trouble spot. Faucet parts, couplers, and gaskets wear out with use, accumulate residue, and lose their seal. Old, sticky faucets can make beer "jump" as it enters the glass. Worn gaskets allow micro-leaks, introducing air or letting CO2 escape, both of which cause foam or flat pours.
Faucet and Coupler Cleaning
Most breweries clean beer lines regularly, but hardware is often overlooked. Faucets should be disassembled and cleaned at least every two weeks, or more often in busy locations. Couplers should be checked for residue and replaced when seals show wear.
Gasket and Seal Replacement
Inspect all rubber and plastic seals. Gaskets that show cracks, discoloration, or permanent compression should be replaced. Manufacturers sell rebuild kits for most common draft hardware. These kits are inexpensive and can prevent hours of troubleshooting "mystery" foam issues.
Test hardware integrity by running water through the system and watching for leaks around couplers and faucets. Any sign of a drip or loss of pressure deserves immediate replacement. Keeping spare parts on hand is cheap insurance.
See how TapListLive handles this for craft brewing
Rough Keg Handling and Short Rest Times
Moving kegs from delivery to cooler to service is often rushed, especially during busy shifts or when storage space is tight. Every bump, drop, or roll agitates the beer and knocks CO2 out of solution. Warm kegs foam worse, but even cold kegs will pour poorly if jostled. Kegs that have been recently moved should rest before tapping.
Industry standard suggests at least 24 hours of rest at serving temperature before tapping a new keg. This lets the beer and CO2 stabilize. In a high-turnover taproom, this can be hard, but even a four-hour rest makes a difference. If you have to tap a keg sooner, expect foamy pours for the first few pints, and warn staff to pour off the excess or serve in pitchers where possible.
You can test for agitation by gently rocking a keg before tapping. If you hear fizzing or if the coupler hisses more than normal, the keg is over-pressurized inside. Always move kegs slowly, and use keg dollies or carts rather than rolling directly on the floor. Plan tap changes ahead so you can rotate stock without rushing new kegs into service.
Diagnosing Foam in the Order That Wastes the Least Beer
When foam hits, the temptation is to start adjusting everything. This wastes beer and usually makes things worse. The fastest way to troubleshoot is to start with the issues that are easiest and cheapest to check, and move up the chain from there.
- First, check temperature: Measure at the faucet and in the glass. If the beer is warm, fix the cooler or glycol before touching anything else.
- Second, check keg rest time: Make sure the keg has been stationary and cold for at least four hours. If not, give it more time.
- Third, inspect hardware: Check faucets, couplers, and seals for leaks or residue. Replace or clean as needed.
- Fourth, pull a sample at the keg: If beer pours fine here but foams at the tap, the problem is in the line or at the faucet.
- Fifth, confirm applied pressure and line resistance: Use a carbonation chart and check line lengths. Adjust as needed, but only after ruling out other causes.
- Finally, check for correct gas blend on long draws: If all else fails, consult a technician about gas blending or system modifications.
Keep a log of each test and result. Over time, patterns will emerge, and the most common cause in your taproom will become clear. This saves beer, staff time, and customer frustration.
Consistent draft quality depends on knowing exactly what is pouring, when, and how. Tracking pours, tap changes, and service notes across your screens and menus gives you a clear view of system health. The right live tap list management tool can centralize this, keeping your team one step ahead of foam issues every shift.